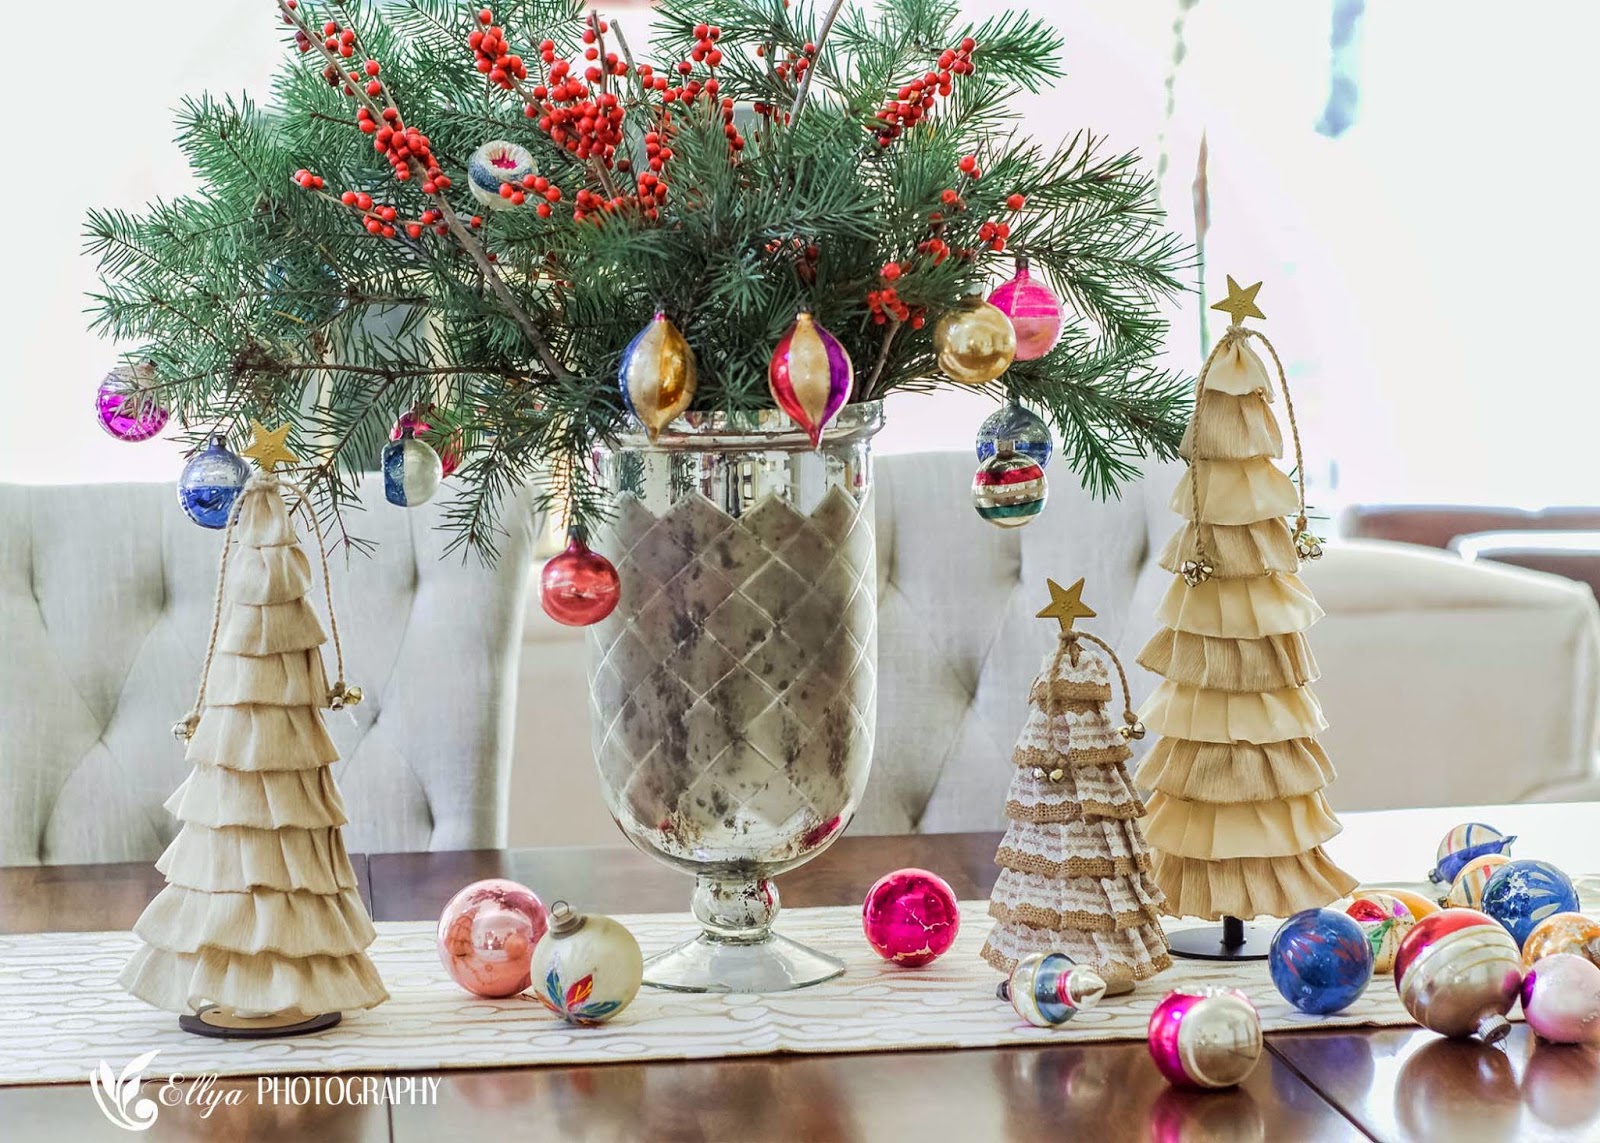
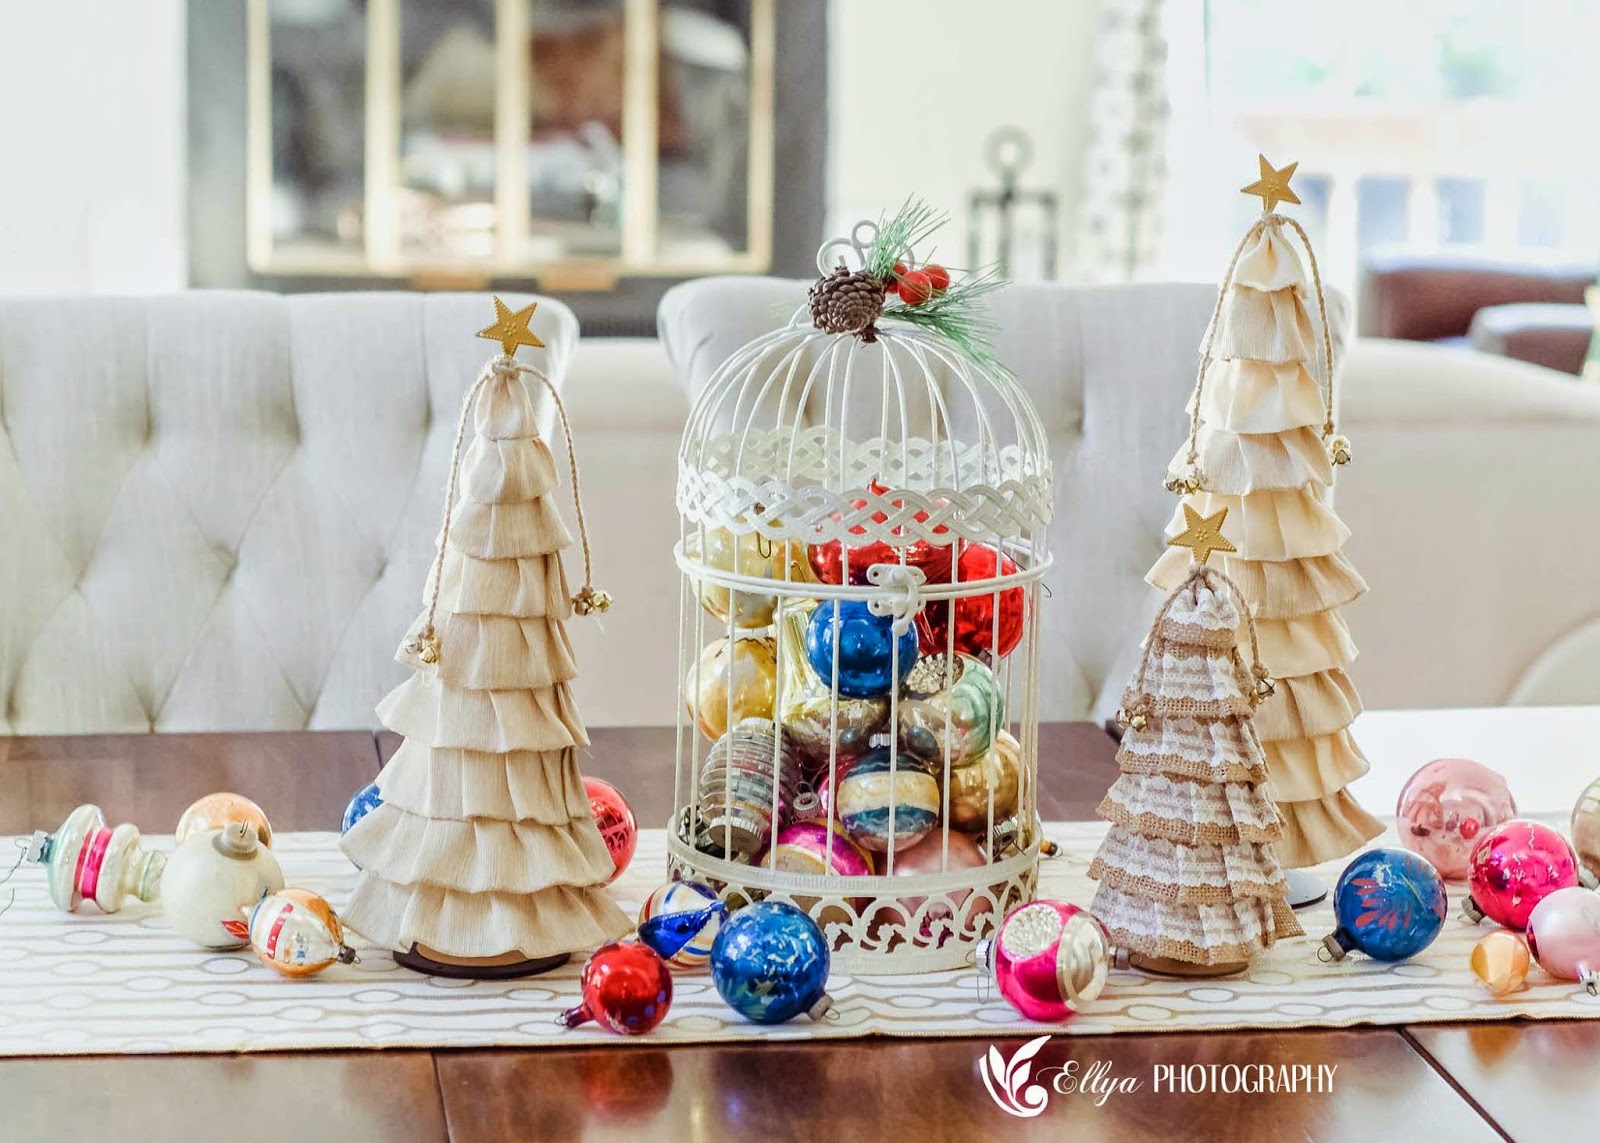
This year my Christmas tree is going be small. I wanted them grouped and displayed together on our dining table. So I came up with these cute DIY Ribbon Mini Christmas Trees decoration.
Since our living room color is dominant with natural color - I deliberately picked natural color ribbons like cream, light brown, etc. for the mini christmas trees decoration.
Then I remembered about my vintage christmas ornaments balls that was still packed boxes that I bought last year from a garage sale in Nyack, New York. Oh how I love these vintage christmas ornaments very much. I took them out and they are looking so pretty decorated with the mini ribbon christmas trees decoration. Please check my old post about these vintage christmas ornament balls (here)
One day my husband and I were driving and saw spruce trees a long the street. I begged my husband Steven to take a few branches as I wanted to put in a vase on the dining table. So he did. I don't usually picking plants a long the street but I am sure this time people don't mind because it was a lot of trees and Steven only took 3 or 4 little branches. I got the vase from Home Goods and the table runner from Ikea at the Holiday section.
One day my husband and I were driving and saw spruce trees a long the street. I begged my husband Steven to take a few branches as I wanted to put in a vase on the dining table. So he did. I don't usually picking plants a long the street but I am sure this time people don't mind because it was a lot of trees and Steven only took 3 or 4 little branches. I got the vase from Home Goods and the table runner from Ikea at the Holiday section.
First please take a look how are these miniature ribbon christmas trees decoration look like.
Another way to decorate as a center piece is to put the decorative bird cage filled with the vintage christmas ornament balls. Initially this was for the children holiday photography props. But I think it looks lovely as a center piece on the dining table as well. The bird cage bought from Michael and was on sale. I paid for USD 12.00 for the biggest one.
What you need.
~Assorted 2" thickness cotton ribbons. Mine bought at Michael at the USD 1.00 per roll ribon bin. I need about 4 or 5 rolls.
~ Glue gun
~ Samll christmas bells
~ Circular gift tag
~ Foam cones (different sizes) for the trees
~ Small metal star charms
~ Tooth picks
~ Empty Spool threads
~ Natural color jute cord (not in picture)
~ Chopstick (I did not use these chopstick in the end)
All materials are available at Michael craft store except tooth pick.
How to.
1. To create the very top part of the tree. Sew ribbon by creating pleat about 4" long. Using glue gun gather the edge to create the top of the tree and glue the bottom part to the cone. 2. Sew pleats on ribbon for the second tier and glue gun just below and under the first tier gathered ribbon. Do it all the way down the cone. 3. Insert one tooth pick on the top and glue gun one star charm on the tooth pick. 4. Take empty thread spool and using glue gun - glue it on the center of the circular gift tag (if the tag is thin then double it using the glue gun). 5. Then glue the top of the thread spool to the bottom of the cone. 6. Take a good length of jute cord and tie both ends with bells. And tie it to the top part of the tree 1/3 down. Then it is done. Note: my sewing machine has broken so I sewn the pleated on the ribbon by hand. It was not difficult as I thought it would be. It took more time but I was patient enough so in the end I am very happy with the result.
Thank you so much for stopping by!


Oh my goodness!! Look at those little Christmas trees! I love these trees from bottom of my heart. Last Christmas we celebrated at one of the domestic event location rentals in Brooklyn and got astounded to see their Christmas party arrangements. Anyway, thanks for this post!
ReplyDelete